1. Download Jitsi from this link https://desktop.jitsi.org/Main/Download.html
2. Scroll down and look for Jitsi Desktop stable build line and click the link for your correct Operating system.
3. Once download is done, install Jitsi by following the Installation Wizard.
4. Launch Jitsi. To add a SIP account, click Tools, then Options. In the Accounts, click Add.

5. In the Network drop-down, select SIP. Enter SIP id and Password. Note: For SIP id, the format should be userid@sip.domainname.com (e.g. 6333113369@sip.gridare.com). Click Advanced.

6. On the Account tab, the SIP id and Password are already filled in so just make sure you have a check in the box for Remember password. Display name is Optional. For labeling purposes if you will be setting up multiple SIP accounts this can help.

7. Click the Connection tab. In the Authorization name, type your UserID (e.g. 6333113369).

8. Click Security tab. Uncheck the box next to Enable support to encrypt calls.

9. Click the Presence tab. Uncheck the box next to Enable presence (SIMPLE). Click Next.

10. Click Sign in.

11. You are all set. Before you start making calls, make sure that the Audio Settings in configured properly. Check the Audio Device, Volume settings, etc.

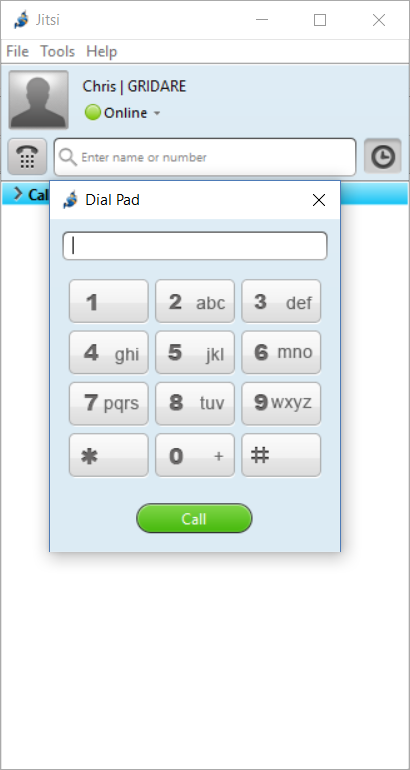
12. To make a call just click on the dial pad icon below.