There was a problem loading the comments.

How can I add time conditions?

Support Portal  »  Knowledgebase  »  Viewing Article

  Print

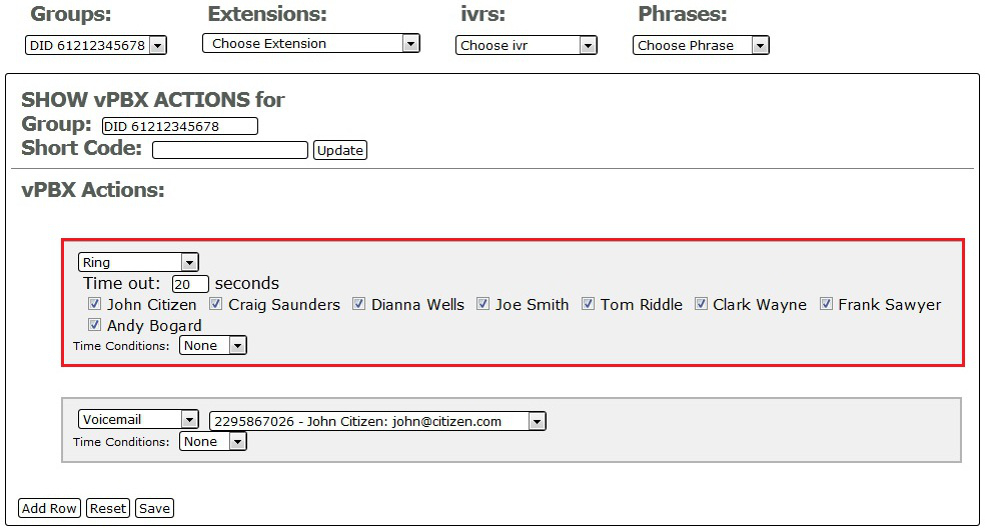
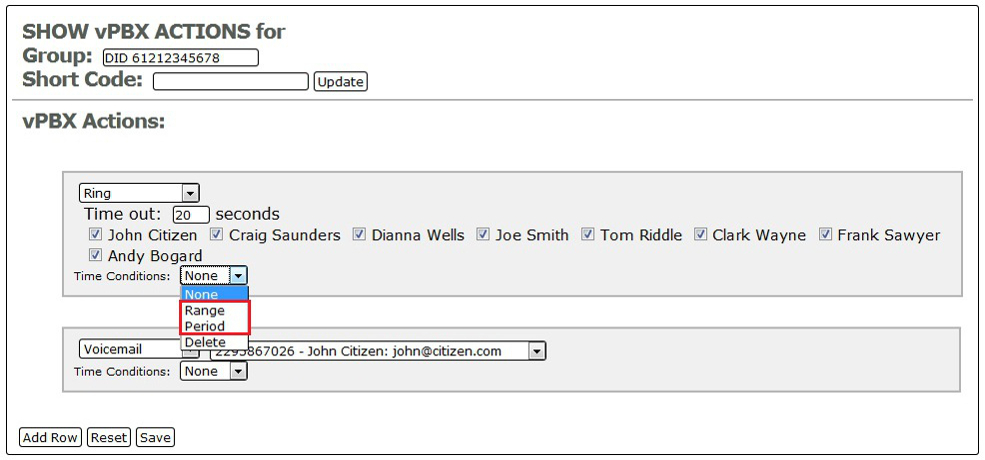
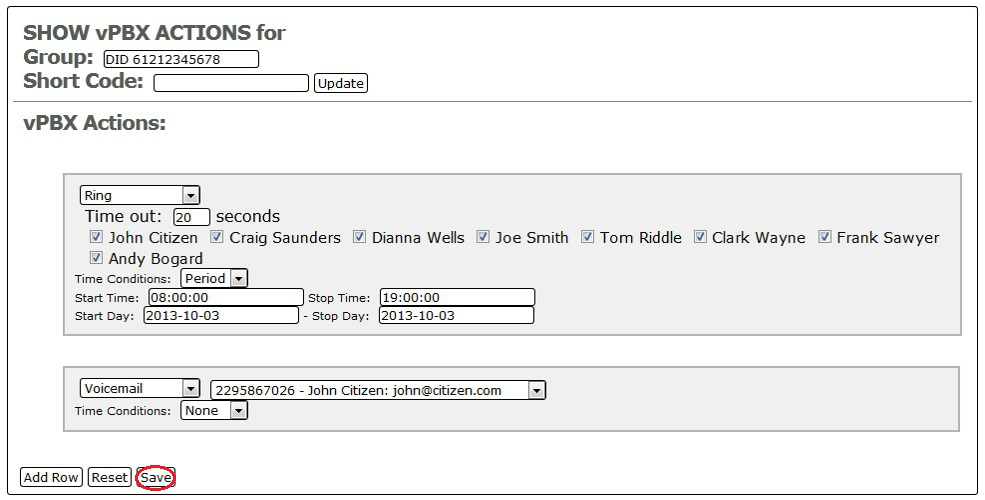
You can add time conditions by doing the following:


  • Log in using your Account ID: e.g. G12345 & the password sent to you by Gridare (which you can see from the Gridare Welcome Email)


  • Once logged in go to the Manage Phone System tab


  • Go to Groups and choose the group: e.g. DID 61211223344 that you want to add or edit


  • Under vPBX Actions choose the row that you would like to add the time condition on


  • On the Time Conditions drop down menu you can choose the following choices; Range or Period


  • For time based rules you can choose Range


  • Set the Start Time and Stop Time using the following format HH:MM:SS


  • Choose the days that you would like the time condition to apply (e.g. put a tick on the days you would like it to apply, such as Monday, Tuesday, Wednesday, Thursday and Friday)


  • For period based rules you can choose Period


  • Set the Start Time and Stop Time using the following format HH:MM:SS


  • Set the Start Day and Stop Day using the following format YYYY-MM-DD


  • Once you're done setting up your time condition; click on Save at the bottom to save the settings


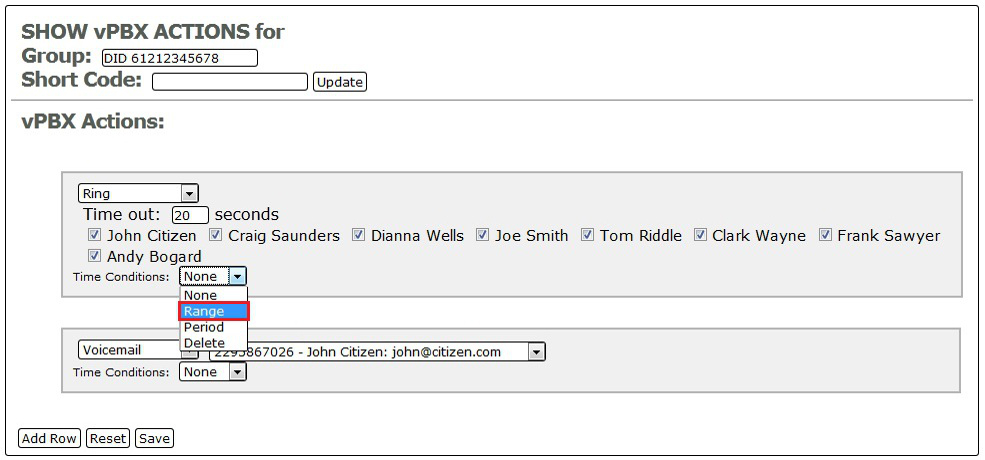
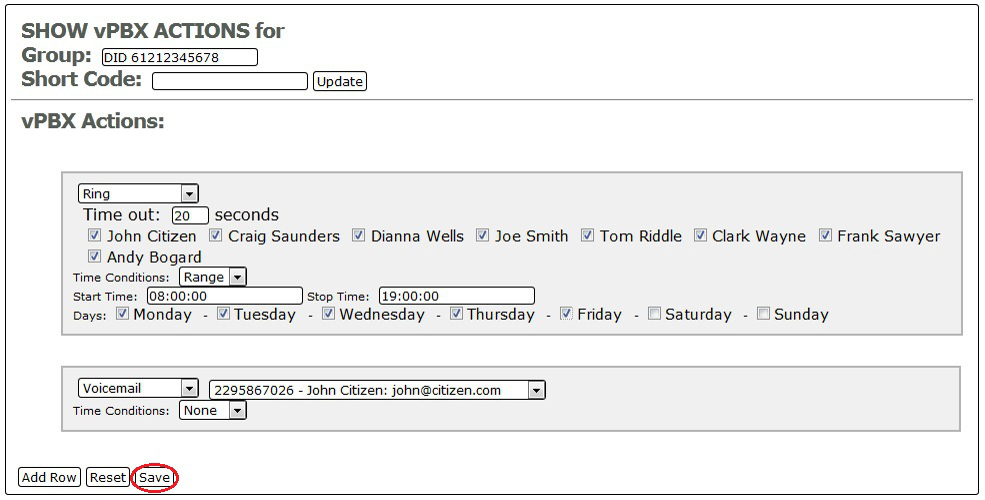
        IF YOU CHOOSE TIME BASED (RANGE):


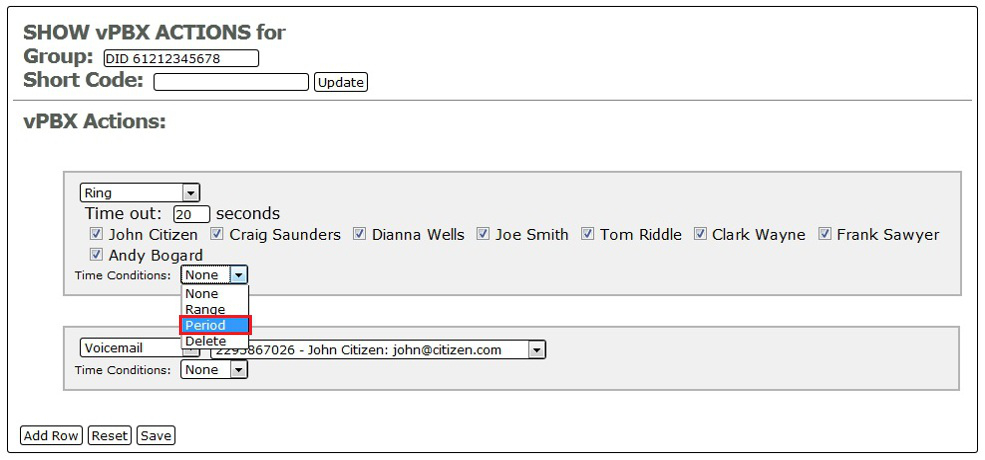
        IF YOU CHOOSE PERIOD BASED (PERIOD):


RELATED LINKS (29 RESULTS): FAQ - Virtual PBX


REMINDER: You can also download the attached PDF version of this tutorial.


Share via
Did you find this article useful?  

Related Articles


Comments

Add Comment

Replying to  

© Gridare Pty Ltd